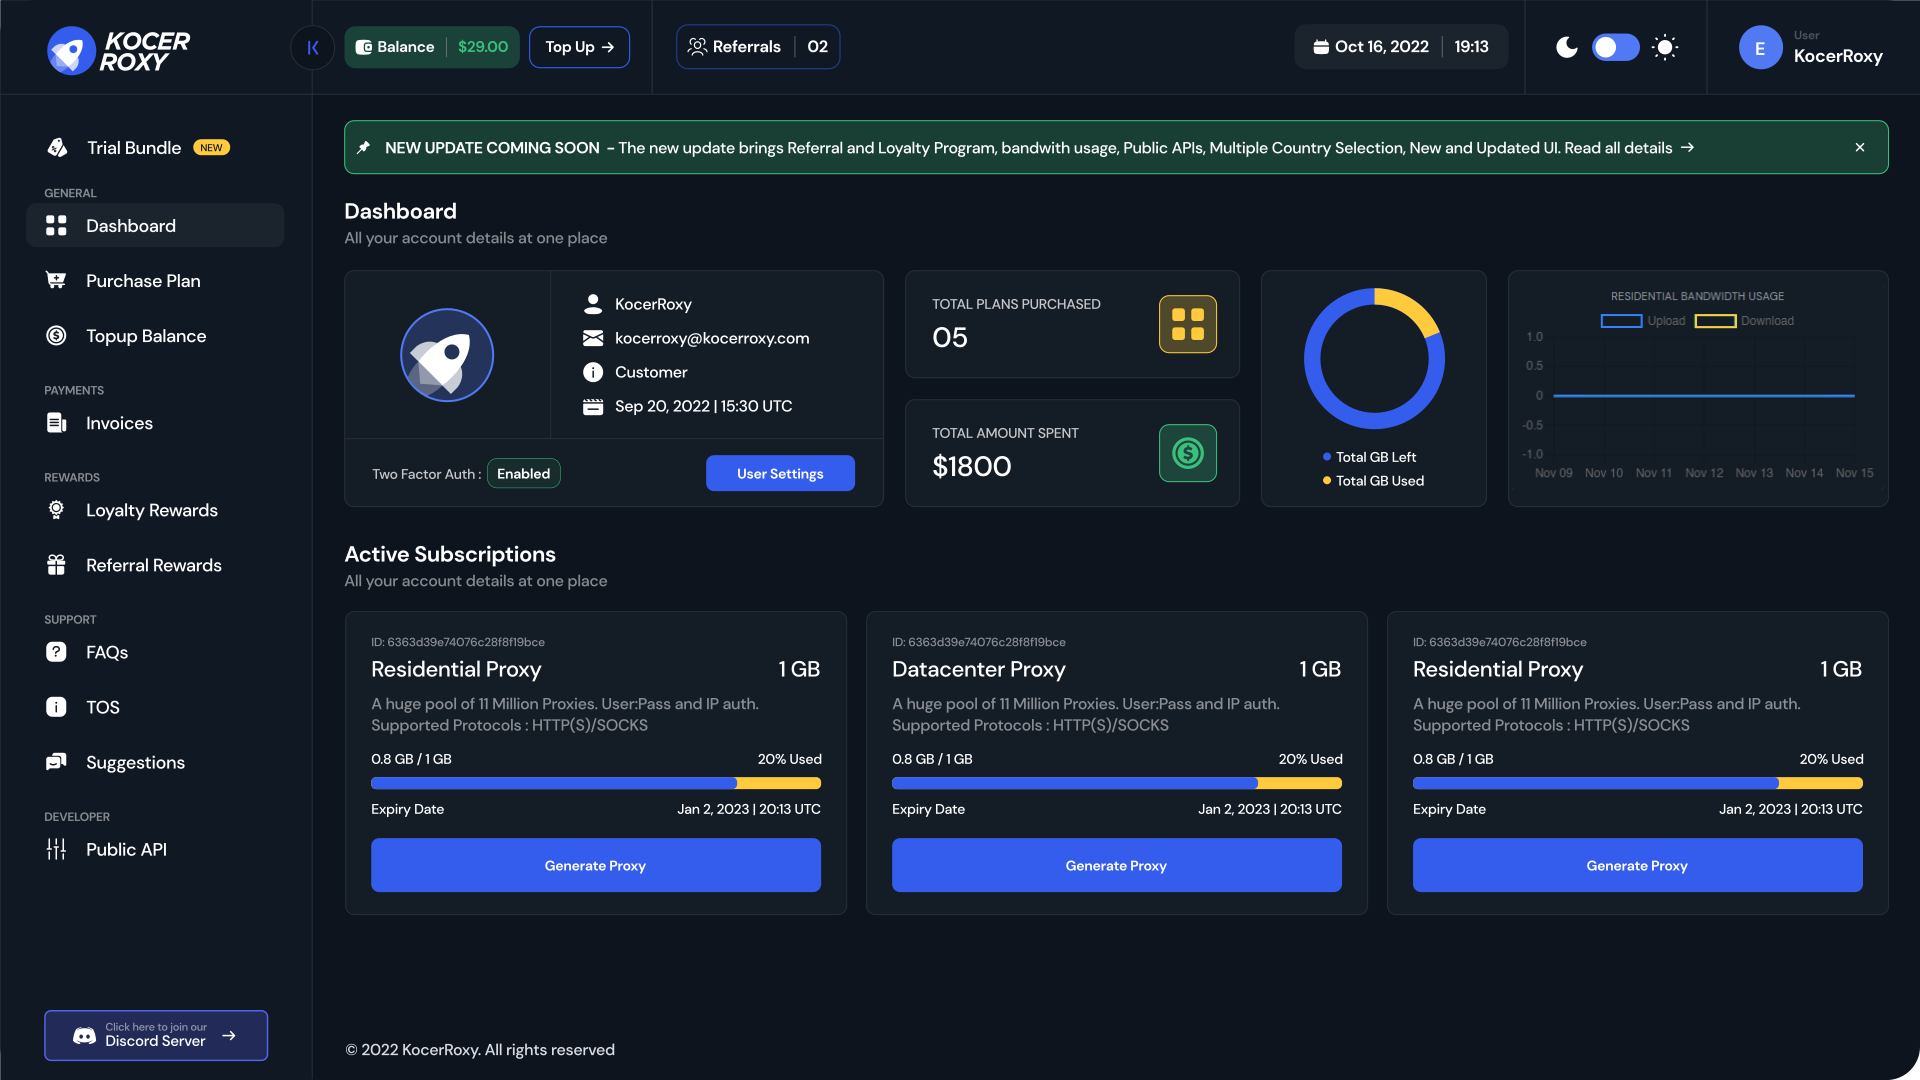
The best proxies for Shopify provide anonymity and a portal to a world of possibilities for your business, connecting you to the vast online marketplace. From web scraping and pricing strategies to automated purchasing, proxies enable you to navigate Shopify’s vast ecosystem efficiently. But only with the right proxy settings for Shopify.
Like any potent tool, proxies come with their own set of challenges. Many Shopify users often find themselves grappling with issues related to Shopify proxies. These issues can range from misconfigured settings to dealing with bans and rate limits, hindering their ability to maximize the potential of this powerful e-commerce platform.
Understanding Proxies
Table of Contents
ToggleA proxy server’s main job is to act as a go-between for you and the actual Internet. When you send a request to access a website, the request doesn’t go directly from your device to the website’s server. Instead, it first travels to the proxy server, which then communicates with the target website.
To illustrate, let’s take a closer look at how this process unfolds:
- Your Request
Let us say you use your computer to visit a Shopify-powered online store. You click on a product page, and your computer sends a request to view that page.
- Proxy Interception
The proxy server you’ve configured intercepts your request before it reaches the Shopify server. This server acts as your digital representative and stores the relevant information for processing your request.
- Proxy Request
The proxy server, acting on your behalf, sends a request to the Shopify server to view the product page. Importantly, this request appears to originate from the proxy server’s location, not yours. Proxies’ primary function is to mask your true identity, making your online activities more secure.
- Shopify Response
Shopify handles the request and sends the data from the product page back to the proxy server, which it believes is the correct location.
- Proxy to You
The proxy server, upon receiving the product page data, forwards it to your computer. On your computer, it seems like the data came directly from Shopify.
To delve deeper into the basics of proxies, you can refer to reputable sources in the fields of cybersecurity and networking. The Internet Engineering Task Force (IETF), an open standards organization, provides extensive documentation on internet protocols and technologies, including proxies.
For a more beginner-friendly introduction, you can explore educational platforms like Cloudflare’s Learning Center, which offers accessible insights into networking concepts, including proxies.
Setting Up Proxies in Shopify
Configuring proxies correctly is the first step in optimizing your pricing strategy or scraping valuable data. In this section, we’ll walk you through the process, providing step-by-step instructions for both manual and automatic setups.
Begin by ensuring you have access to a reliable proxy service like Kocerroxy, which will provide you with the proxy server details you need to proceed.
Configuring Your Proxies Manually
Manual proxy configuration offers greater control over your interactions with Shopify. Follow these steps to set it up:
Step 1: Access Your Proxy Settings
- Open your web browser and navigate to its settings. This can typically be done through the browser’s menu.
- Locate the “Advanced” or “Network” section within your browser settings.
- Find the option for “Proxy” or “Proxy Server.” Enter your proxy information here.
Step 2: Add a New Proxy Server
In the proxy settings section, you’ll have the option to add a new proxy server. Click on it.
You’ll need to provide the following information, which your proxy service provider should offer:
- Host or IP Address: Enter the proxy server’s hostname or IP address.
- Port: Specify the port number for the proxy server.
- If your proxy requires authentication, you’ll also need to input your username and password.
Once you’ve entered these details, save or apply your settings.
Step 3: Test Your Proxy Configuration
It is crucial to test the proxy server after adding it to ensure that it is working properly. Most browsers offer a built-in feature for testing proxy configurations.
Locate the option to test the proxy configuration within your browser settings.
Initiate the test, and the browser will attempt to connect to the proxy server using the provided details. A successful test confirms that your proxy is correctly configured.
Step 4: Start Browsing Shopify Securely
With your proxy server configured and verified, you can now start browsing Shopify with an added layer of anonymity and security.
Configuring Proxies Automatically
Automatic proxy configuration streamlines the setup process by allowing your browser to manage proxy usage. Here’s how to enable it:
Step 1: Enabling Automatic Proxy Configuration
In your browser’s proxy settings, you may find an option for automatic proxy configuration.
Turn on the “Automatic Proxy Configuration” or “Use automatic configuration script” toggle.
If your proxy provider offers an automatic configuration URL, enter it in the designated field. This URL guides your browser through automatically configuring proxy settings.
Step 2: Save Your Settings
Don’t forget to save or apply your changes in the browser settings to enable automatic proxy configuration.
Congratulations! You’ve successfully configured proxies to access Shopify stores for web scraping, ad verification, or competitive research. Your online activities are now shielded, and you’re ready to navigate Shopify’s e-commerce landscape seamlessly.
For more detailed and up-to-date information on configuring proxies for web interactions, consult your browser’s official documentation or your proxy service provider’s resources.
Troubleshooting Proxy Settings for Shopify Issues
While proxies provide numerous benefits for your web interactions with Shopify, they can occasionally be a source of frustration due to various issues. In this section, we’ll identify some common problems users might encounter with proxy settings in Shopify and provide expert solutions, including code examples, for each issue.
Issue 1: IP Blocking by Shopify
Problem: You notice that your IP address, associated with your proxy, has been blocked by Shopify, hindering your access.
Solutions: Shopify employs security measures to protect its platform from potential threats. If your proxy’s IP address is blocked, try the following:
- Rotate Your Shopify Proxies: Most proxy providers offer multiple IP addresses. Switch to a different proxy IP to bypass the block. Here’s an example in Python using the requests library:
import requests
proxy = {
“http”: “http://proxy_ip:port”,
“https”: “https://proxy_ip:port”
}
url = “https://www.shopifystore.com”
response = requests.get(url, proxies=proxy)
- Use Residential Proxies for Shopify: Residential proxies often have IP addresses that closely resemble real users, making them less likely to be blocked. Consider using residential proxies for accessing Shopify.
Issue 2: Proxy Authentication Errors
Problem: You encounter authentication errors when trying to use your proxy with Shopify.
Solution: If your proxy requires authentication, ensure you’ve correctly entered your username and password. Here’s how you can add authentication to your proxy requests in Python:
import requests
from requests.auth import HTTPProxyAuth
proxy = {
“http”: “http://proxy_ip:port”,
“https”: “https://proxy_ip:port”
}
url = “https://www.shopifystore.com”
auth = HTTPProxyAuth(‘your_username’, ‘your_password’)
response = requests.get(url, proxies=proxy, auth=auth)
Issue 3: Slow Performance
Problem: Your proxy-aided Shopify access feels sluggish, impacting your productivity.
Solutions: Slow performance might result from using overcrowded or distant proxy servers. To optimize speed:
- Choose Proxies Wisely: Select proxies that offer low latency and are geographically closer to Shopify’s servers.
- Monitor Performance: Continuously assess your proxy’s performance using tools like Ping or Speedtest. Replace slow proxies with faster ones.
Debugging and Testing Proxy Configurations
Properly debugging and testing your proxy proxy settings for Shopify can help you identify and resolve issues effectively.
- Check Proxy Details
Ensure you’ve correctly entered proxy server details, including the IP address, port, and authentication credentials if required.
- Log Requests and Responses
Implement logging to track requests and responses. This can reveal any inconsistencies or errors in your interactions with Shopify.
- Verify IP Geolocation
Use IP geolocation tools to confirm that your proxy server is in the location you expect. Mismatched geolocation can trigger security measures.
- Inspect HTTP Headers
Review the HTTP headers in responses to confirm that your proxy settings are being applied correctly.
- Contact Support
If problems persist, reach out to your proxy service provider’s support team for assistance. They can often offer insights into specific issues.
Conclusion
When used responsibly, proxies become a valuable tool in your arsenal, enabling you to gather vital data, verify ads, and conduct competitive research with precision. By setting up your proxies correctly, you’re poised for success in the dynamic world of Shopify and e-commerce.
Keeping up with the dynamic online business world can help you stand out from the competition. With the right proxy settings for Shopify and choosing the best Shopify proxies, you can take your business to the next level.
How useful was this post?
Click on a star to rate it!
Average rating 0 / 5. Vote count: 0
No votes so far! Be the first to rate this post.
Tell Us More!
Let us improve this post!
Tell us how we can improve this post?